
by Sew Sweet Stitches


Tutorial - Beautiful fun craft tutorial to make these fabulous decorations.
Materials
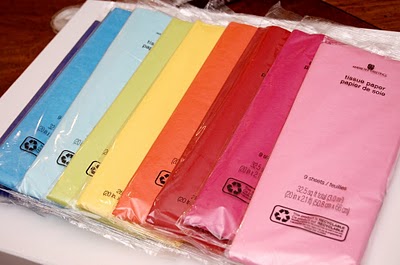
Tissue paper
Heavy-duty scissors
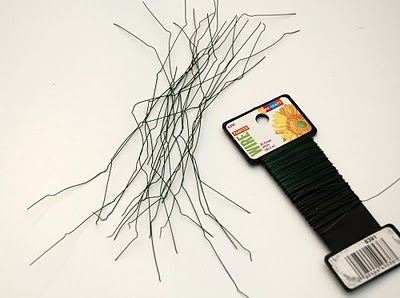
Floral wire
Make sure you use a pair of scissors that you don't mind ruining, because they're going to take a serious beating here. Floral wire can be found at any craft store, or even at Walmart for $1.99. Before we get started, I'm gonna lay out exactly how much paper you'll need to make the project you want. I'm using the American Greetings brand as a standard, but cheaper tissue paper can sometimes come in different sizes and amounts.
For a package of 20" x 25" tissue paper, 8 sheets:Large flowers (Peonies): 16 per pack
Small flowers (Carnations): 32 per pack
Mini pompoms (Garland): 8 per pack
Small pompoms: 2 per pack
Medium pompoms: 1 per pack*
Large pompoms: 1 per pack
*There will be enough paper leftover from a medium pompom to make flowers or mini pompoms
The flowers are easiest, so lets start there.
For each flower, you'll need to cut about 6" of wire.
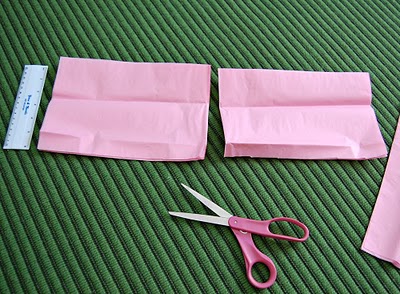
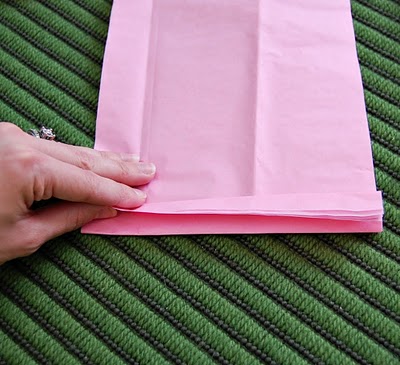
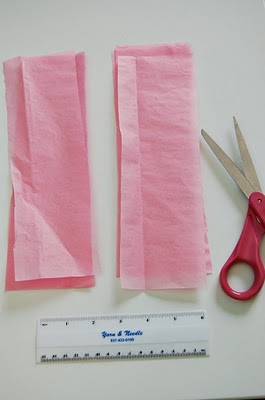
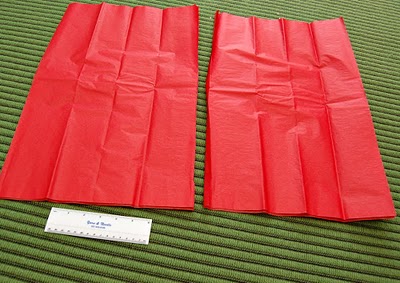
Spread the tissue paper out horizontally on the floor or a large table.
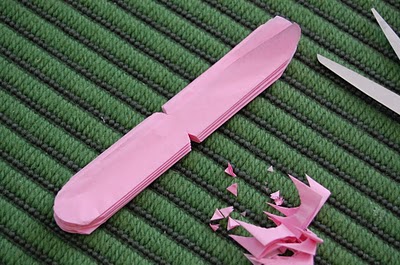
Cut a strip up the short side about 6" wide. It doesn't have to be exact.
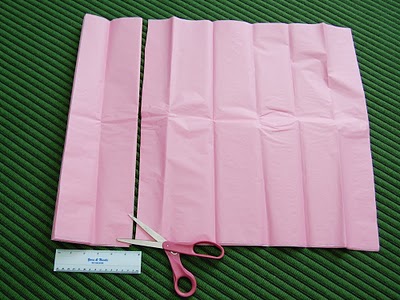
Now cut the removed strip in half through the width, so you have two 10" x 6" pieces.
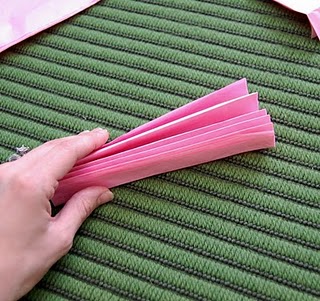
Then separate four layers from each side.
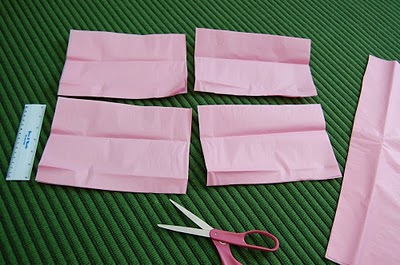
Now you have four stacks, which will each make a flower.
Using one of the stacks, begin at one of the long ends and make a horizontal fold, about an inch wide.
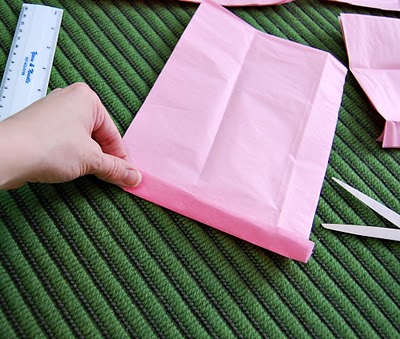
Flip the stack over and fold again, like an accordion.
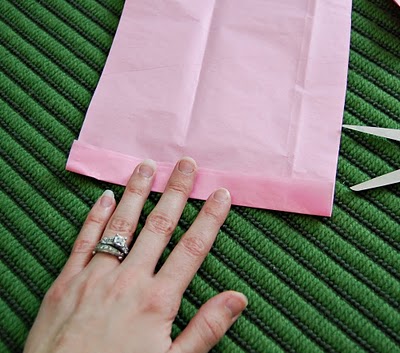
When you're finished folding, it should look like this. Don't worry if the folds don't match up perfectly, or if your last fold was not an even width with the rest of them. No big deal.
Now cut rounded corners through all the layers on each long end. You could also cut points. Personally I think it looks prettier rounded, but whichever. Oh, and do this over a trash can or something, because it gets really messy! If you're having a hard time getting the scissors through all the layers, you can do half at a time. The cuts don't need to match up perfectly either.
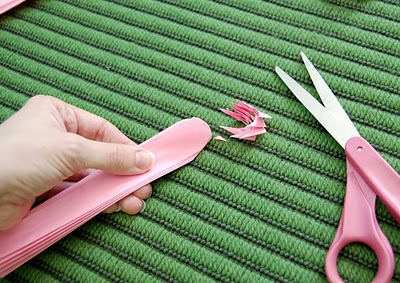
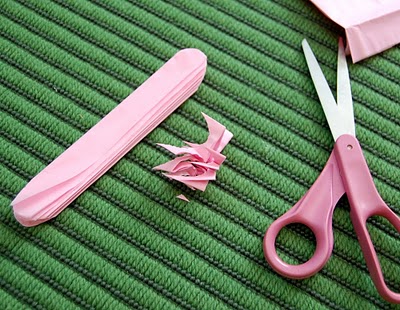
Next, cut two little triangle wedges from the center of each side in the middle, like this:
These notches will make it easier to fold the petals out toward the center.
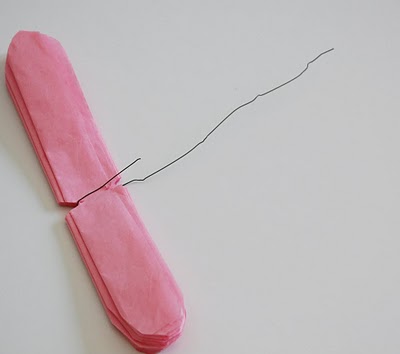
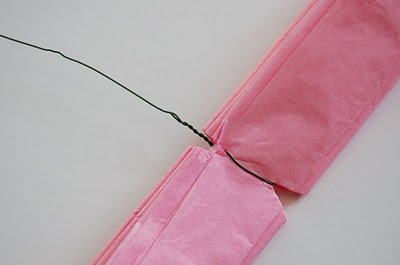
Now wrap your floral wire around the center of the strip, through the notches. If you're making a flower, fold it evenly in half
.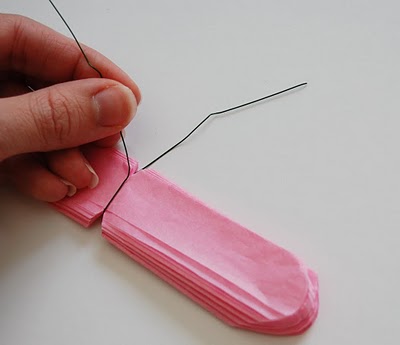
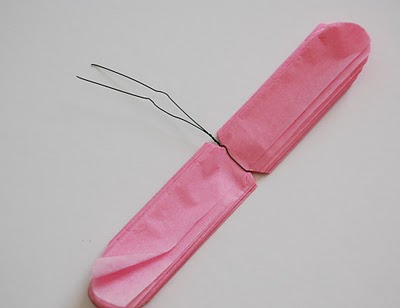
Twist the wire around like a bread tie.
Now comes the fun part- Folding!
You can start on one side and alternate back and forth to the other side as you go, or you can fold all of one side and then all of the other. When making the flowers, it doesn't really matter.
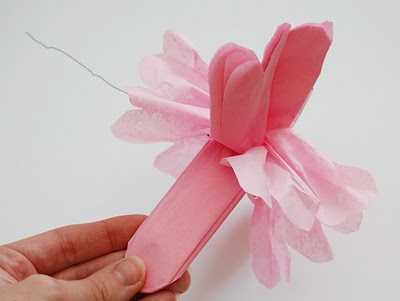
Fan out one side as best you can with your left hand, and try to keep them spread out as you gently peel the topmost layer of one side up towards the center. Begin at one edge and work across to the other, shaping the "petals" up as you go.
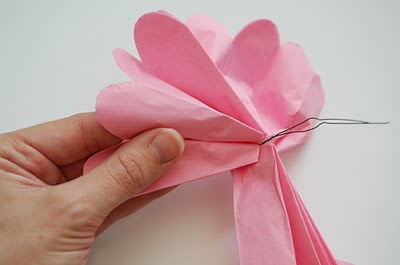
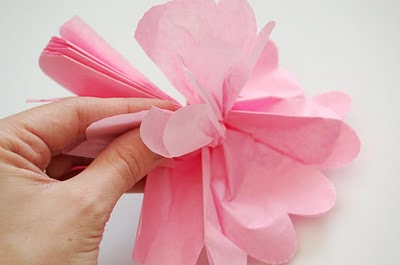
Here's what it looks like at half finished:
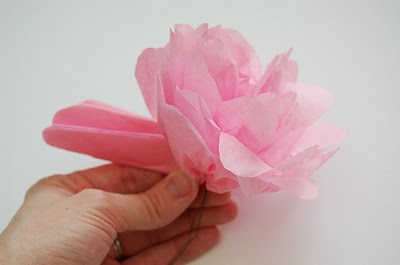
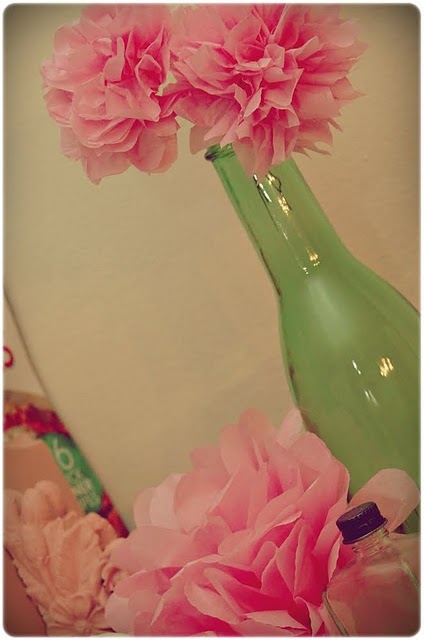
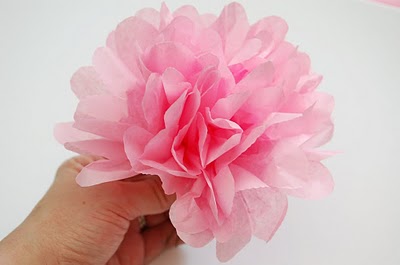
And here's completed
!
To make the smaller flower, which looks more like a carnation than a peony, cut the stacks in half lengthwise.
The rest of the steps are the same.
Here's what the flowers look like when the ends are cut at points, on the left: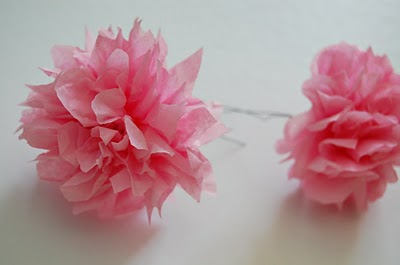
And here's what they look like cut rounded, on the right:
If you want to put your flowers in a bouquet, you'll need floral tape and wire stems. Just twist your floral wire around the stems, then cover with tape. So easy.
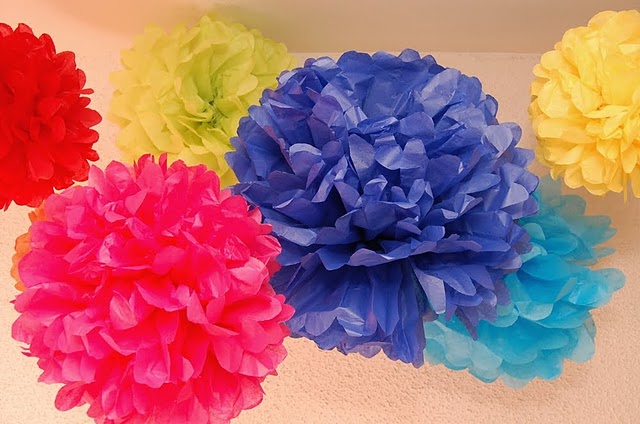
Now the pompoms are pretty much the same thing, just twice as much.
To make the mini pompoms: Instead of splitting the 10" x 6" stacks in half, keep them at eight sheets.
When you fold the wire around the middle, don't fold it in half. Fold over just enough for twisting. The part that sticks out will be folded over to make a loop for hanging.
Folding is pretty much the same as for a flower, but it works better if you alternate sides instead of doing an entire side at a time. This way the pompom stays an even sphere.
If you think of the pompom as hemispheres with the wire being the north pole, you'll fold the northeast and southeast away from each other first. Then follow with the northwest and southwest folded away from each other
.
Here's the pompom half folded:
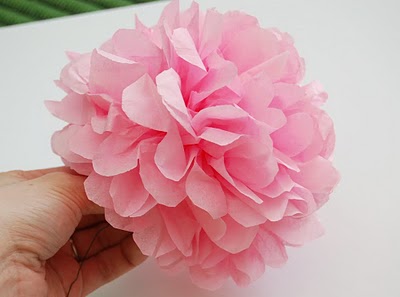
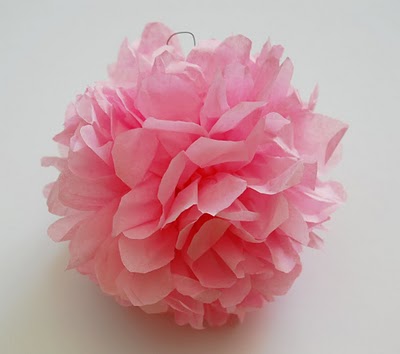
And here's what it looks like when the folding is finished:
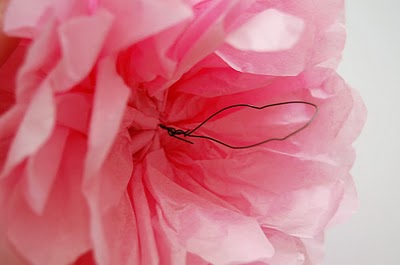
Wrap the wire around to make a loop for hanging, and fluff the petals up around to hide it.
For small pompoms, cut an full pack of tissue paper in half for two 12" x 10" stacks:
For medium pompoms, start with a full pack. Cut off a 6" strip. Use the remaining stack.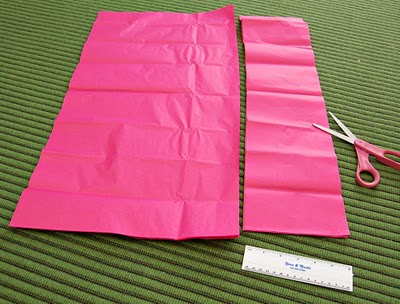
For large pompoms, use the entire pack.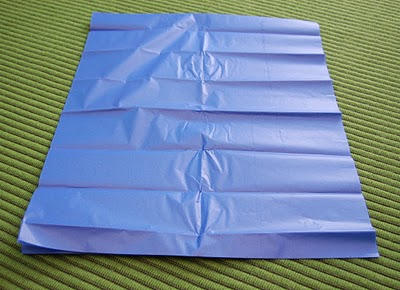
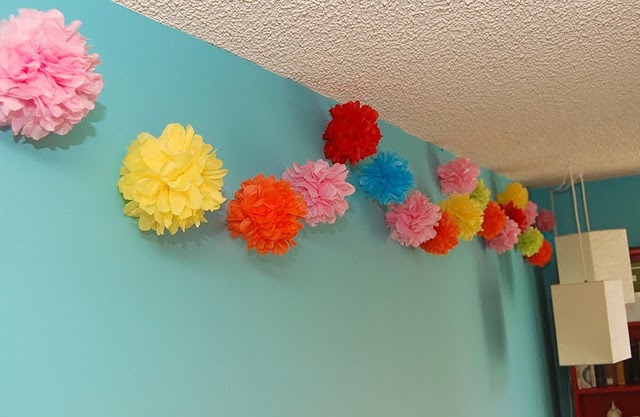
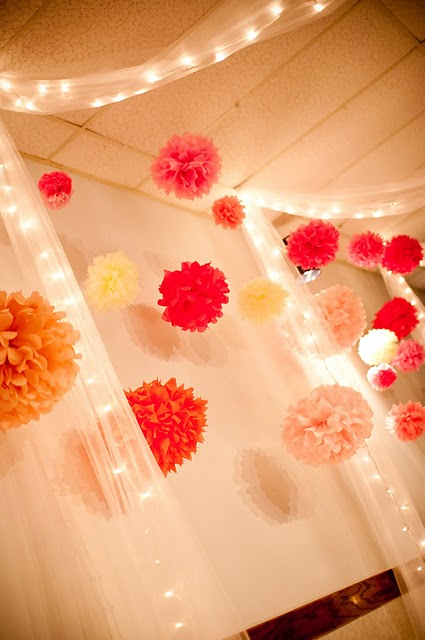
String some clear fishing line through the loops and hang or tie into a garland:


Thank You. Very easy to understand and now I think I can do it!
ReplyDelete