
via Craftzine
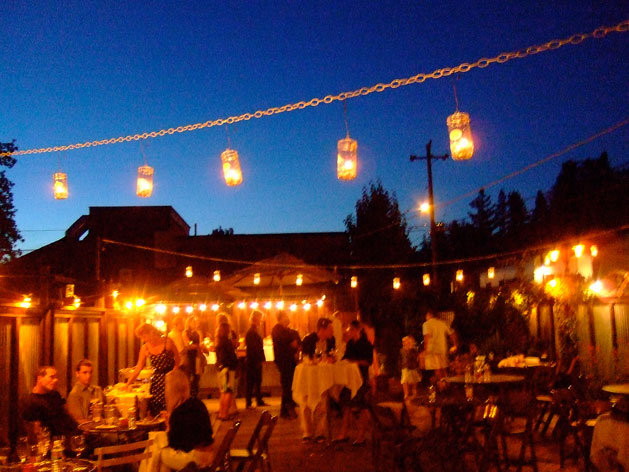
Step by Step Tutorial - Parties, weddings, barbecues, and quality outdoor time all call for some sweet outdoor lighting when the sun goes down. It's a perfect time to flashback to the Jam Jar Lanterns tutorial from the pages of CRAFT Volume 10, written by our own wildly talented Brookelynn Morris.She came up with this charming design, and the rig that makes making a number of them a breeze. The lanterns look so lovely strung up on a chain and cast a warm, soft hue. Check out the tutorial here.
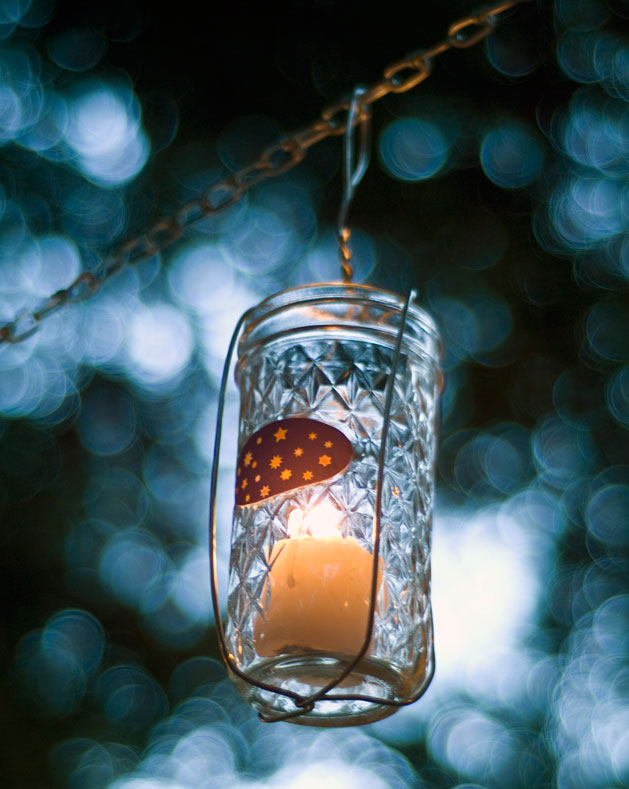
Set your party mood with sublime lighting.
Lighting makes an event, and candles transform the mundane into the extraordinary. These glass jar lanterns are beautiful hanging from a tree, or from chain across a deck. Pick any jar you like, then bend a snug-fitting cage of wire on a easy custom-made jig. The technique makes it easy to mass-produce a large number of lanterns in a short time.

Materials
Jars Any size will do I used the quilted style.
Tape measure
Wire, 16 or 18 gauge
2×4 lumber, 2'-3' long
Standard nails (3)
Finishing nails (8) Finishing nails have no heads.
Needlenose pliers
Hammer
Candles
Directions
Make the Jig
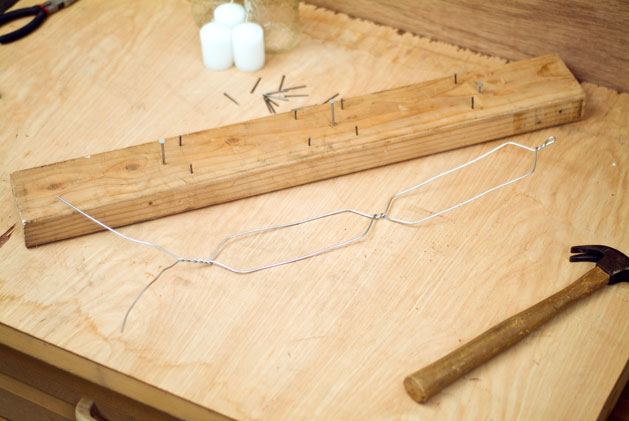
1. Measure the jars, and then follow the diagram to calculate the placement of the nails on the 2×4. The diagram allows you to use any jar you like and still have a snug fit for the wire cage. Mark the points with a pencil.
2. Hammer in the 3 standard nails first. The topmost nail should be pounded down most of the way. The second and third standard nails should be left to stand higher.
3. Hammer in the 8 finishing nails. Leave them standing a good 1" up from the wood.
Measure, Cut, and Twist the Wire
4. Our jars measure 57" tall, so we cut roughly 4' of wire for each jar. Generally, you'll want to cut the wire to about 10 times the height of your jar.
Be sure to make 1 complete Jam Jar Lantern to determine what measurements are perfect for your jars before making a series of them.
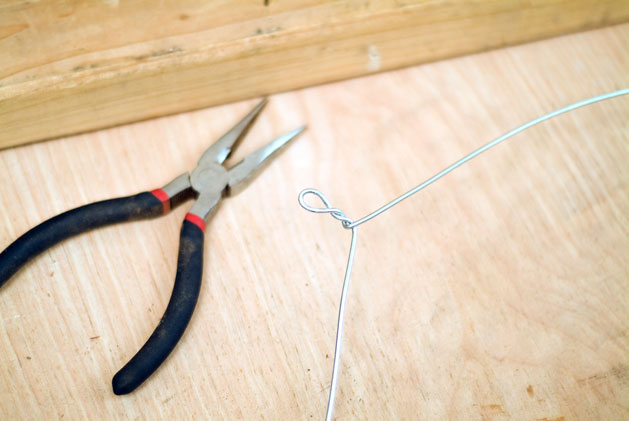
5. Bend the wire so that a loop is formed at the center point of its length. Pull the loop tight and pinch it down with the pliers. Then hold the loop with the pliers, and with your free hand twist the wire twice under the loop.

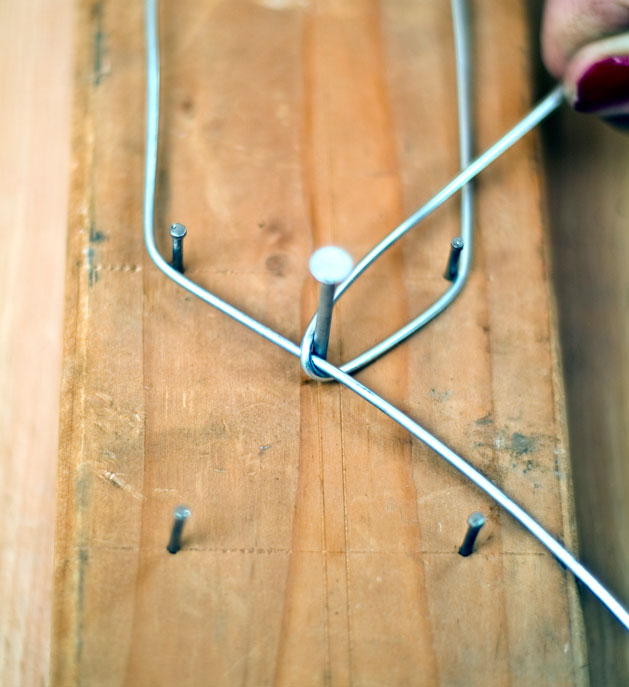
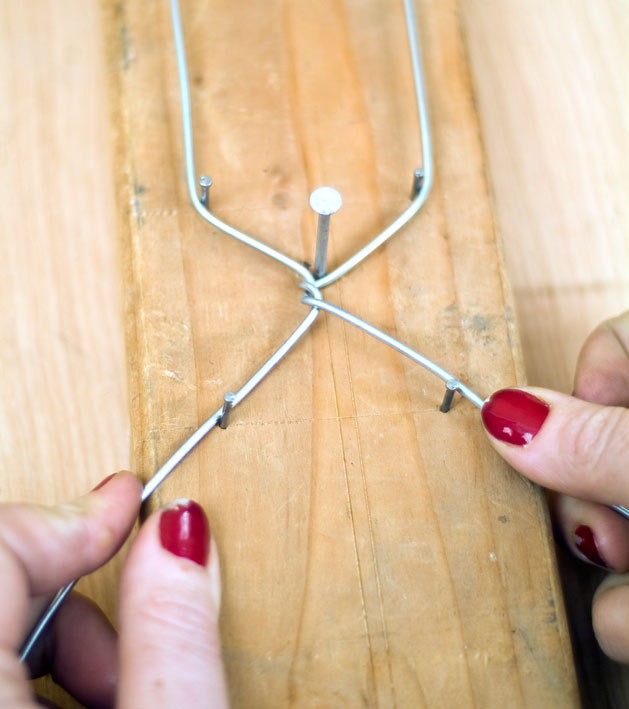
6. Set the twists against the topmost standard nail. Run the 2 ends of wire over to the closest finishing nails, one on the left and one on the right.

7. Pull firmly and bring the 2 lengths of wire down to the next 2 finishing nails. Try to lay the wire as flat and straight as possible.

8. Cross the 2 wires under the standard nail in the center. Lay the wire from the right on the bottom, and the wire from the left over it.
9. You now need to twist the wire. To keep it secure, use the standard nail as leverage while working this step and the next. To begin the twist, bring the bottom wire over the top wire. Bend it over the top of the nail by pulling up and to the right.
10. To form the second part, bring the unbent wire down and to the left. Finish the twist: bend the wire that's still up on the standard nail back down toward the right.

11. Now that you've made the anchored twist, make a second simple twist beneath it. Mash down the 2 twists with the head of the hammer. You can then run the wires over to the next 2 finishing nails.
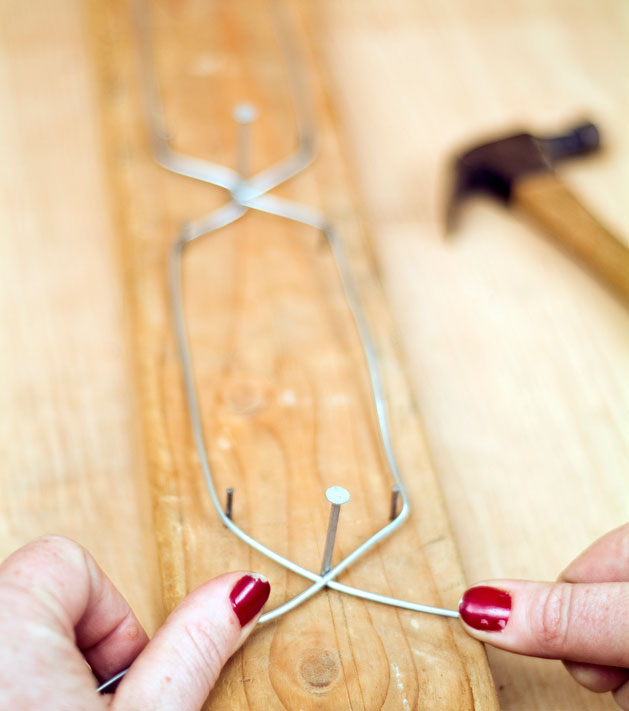
12. Pull down firmly, make sure the wires are straight and flat, and then repeat Steps 8-10 to make another anchored twist.
13. Add a half dozen or so simple twists at the end. Then pull the wire off the jig and cut off the shorter wire end as close to the twists as possible.

14. Wrap the loose end of wire around the nose of the pliers. Then pull the pliers free and use them to press the end of the wire into a tight curl. Then bend the wire into a hook like the one on a coat hanger.
Add the Jar and Finish
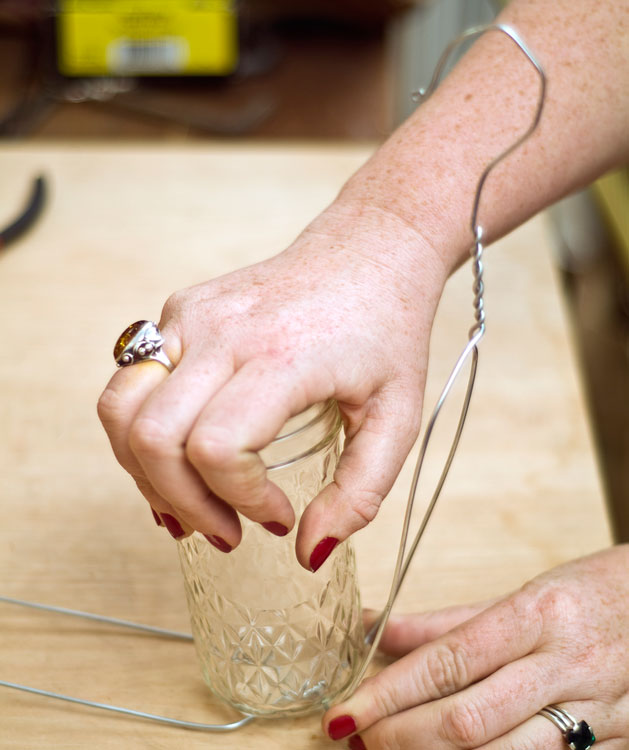
15. Set the jar onto the 2 twists in the center of the wire cage, and, starting from the bottom, bend the cage up and around the glass. At this point, make any slight adjustments to the fit, and ensure that the jar is well contained in the wire.
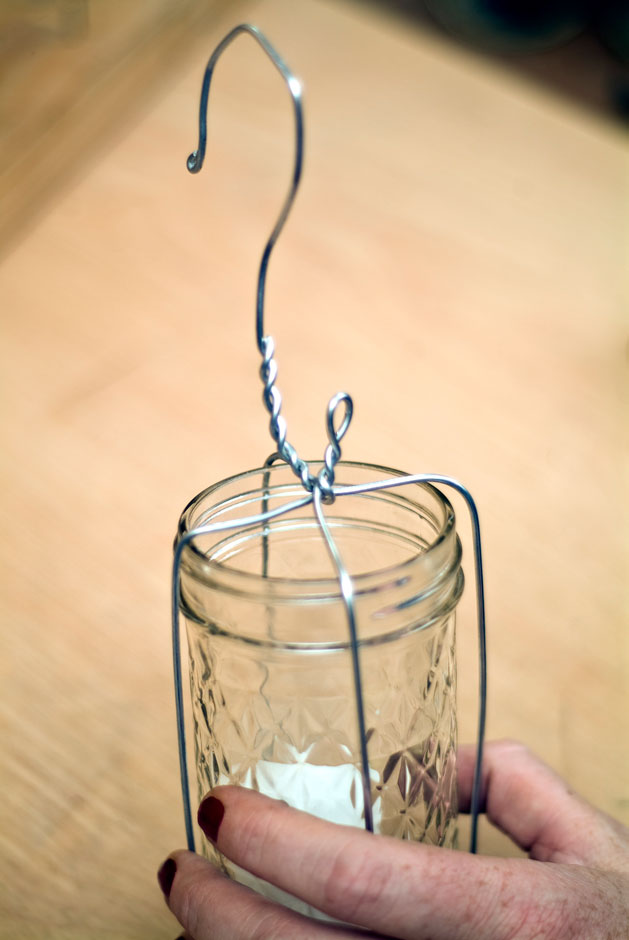
16. Bend the hook and loop ends of the wire so that they meet in the center of the glass. Fold the looped end under the hook so that they fit together to lock the cage shut.
17. Add a candle. Write a message on the sticker that's included with the glass jar, or make a custom sticker and affix it to the glass. Light the candle with a long match and hang the lantern wherever you like!
No comments:
Post a Comment