
via Craftzine
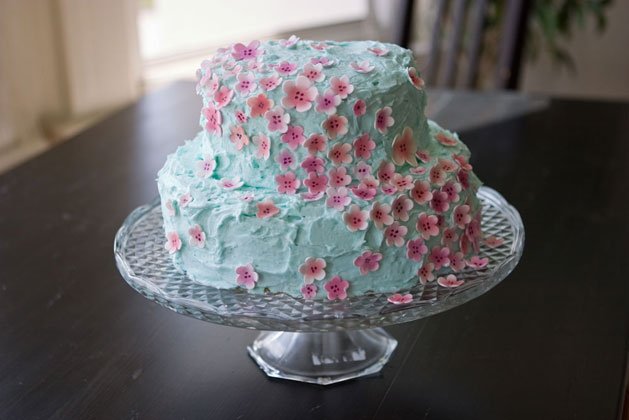
Julie Sloane's "Sugar Sweet Flowers." She teaches you how to turn any cake, whether it be a birthday cake or wedding cake, into a feast for the eyes. Check out her tutorial.Turn a plain cake into a feast for the eyes with these simple blossoms.
It's one of those wedding industry secrets: cake decorators charge a lot for sugar dough flowers, but in fact many aren't that difficult to make. Elaborate, realistic flowers do take skill and practice, but even a novice can elicit "You made that?!" reactions with simple blossoms that will last almost indefinitely if kept cool and dry. This sugar dough, known as gum paste, isn't necessarily delicious, but it is edible. More importantly, it can turn any plain cake or cupcake into a feast for the eyes.
Materials
Gum paste See recipe below.Shortening and cornstarch
Gel food coloring (optional)
Nonstick board Try a plastic cutting board.
Nonstick rolling pin I made mine out of a 6" acrylic rod.
Small plastic bag and aluminum foil
Plastic sleeve for 3-ring binder
Small soft paintbrush and floral wire
Petal dust can be bought at specialty baking stores.
Flower making tools Get the Wilton Floral Collection Flower Making Set or buy individually:
Ball tool
Small 5-petal flower cutters
Gum paste foam former
FOR GUM PASTE:
1lb confectioner's sugar, less ½c2 egg whites
3tsp vegetable shortening
6tsp tylose an edible thickening agent, available at cake shops or online
Lightly beat the egg whites with an electric or stand mixer. Add the powdered sugar and beat for 5 minutes on medium speed. Add the shortening and mix for another 15 seconds. Add the tylose and beat for a few seconds. The mixture will thicken rapidly, so be careful not to burn out the mixer's motor.
Store gum paste in a plastic bag, and sealed inside an airtight container. Refrigerate and let rest overnight. The dough will last several weeks if refrigerated when not in use and can be frozen for a longer shelf life.
Adapted from a recipe by sugar art guru Nicholas Lodge. His site, internationalsugarart.com, sells many of the needed supplies.
Directions
Step 1: Knead a lump of gum paste until it's pliable.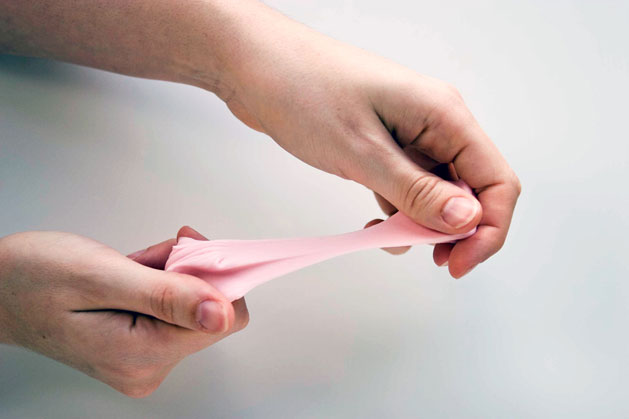
Break off a lump of gum paste from the main ball and knead it with your hands until it's firm but stretchy. Blend in a small amount of shortening to condition it.
To create colored gum paste, work in a tiny bit of gel food coloring as you knead. It's potent stuff and too much gel will make the dough sticky and unworkable. (For this reason, dark colors are hard to achieve.)
Step 2: Roll the gum paste thin.
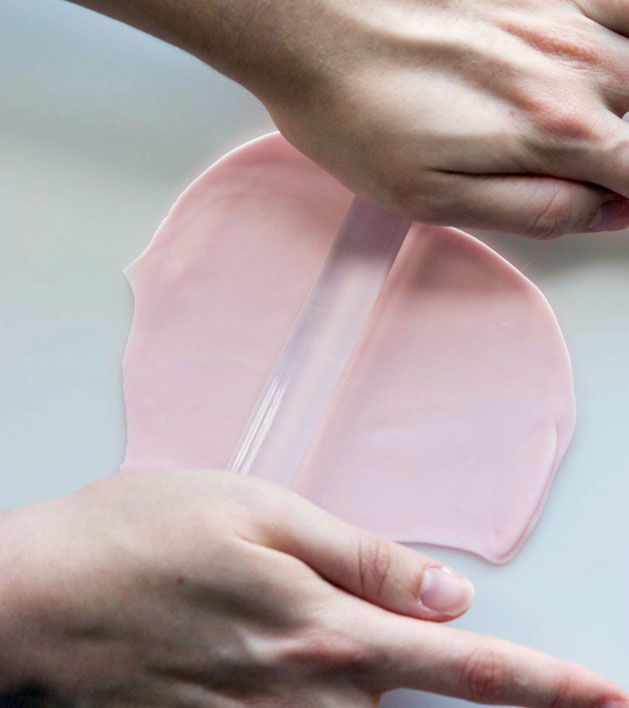
On your nonstick board, roll out all or part of your conditioned gum paste as thin as possible.
TIP: Air is the enemy -- it can dry the gum paste within minutes. Store what you aren't actively using in a plastic bag. If you're in a humid area and the gum paste becomes sticky, use cornstarch to dry it.
Step 3: Stamp out the blossoms.
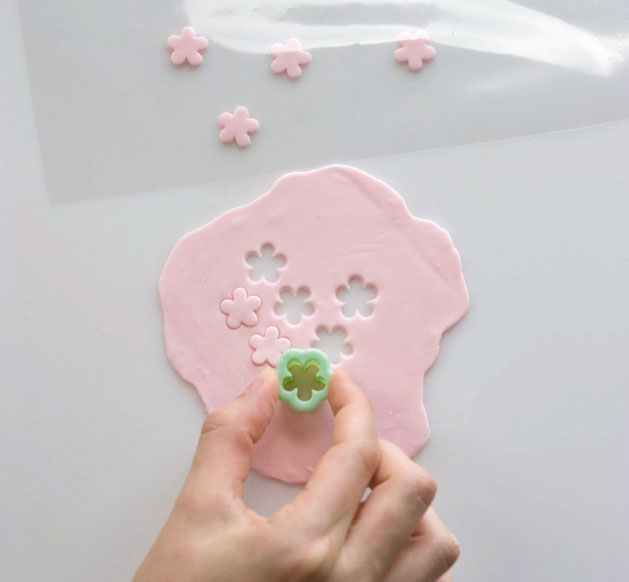
Use the flower cutters to stamp out flower shapes. Push firmly to give each blossom a clean edge. Put the newly cut blossoms into your plastic sleeve to keep them from drying out. Put your scrap dough back in the bag to keep it moist.
Step 4: Thin the blossoms.

One at a time, put the blossoms onto the foam and thin them with the large end of the ball tool, using small, circular motions and light pressure. You want to thin them, particularly on the edges, but not distort the shape. Rolling the ball tool in the middle of the blossom will also give the blossom a slight cup shape. Mother Nature isn't uniform, so don't worry if your blossoms aren't either.
Step 5. Dry the blossoms overnight.

As you complete each blossom, lay it on a crinkled piece of aluminum foil. This preserves the curves in the flowers while giving them all slight variations in shape. Within 24 hours, the blossoms should be fully dry.
Step 6: Apply petal dust.

Brush petal dust onto the blossom's center or its edges with a paintbrush, allowing for a gradation in color.
NOTE: Petal dust is essentially ground, nontoxic chalk made for this purpose.
Step 7: Dot with wet petal dust.
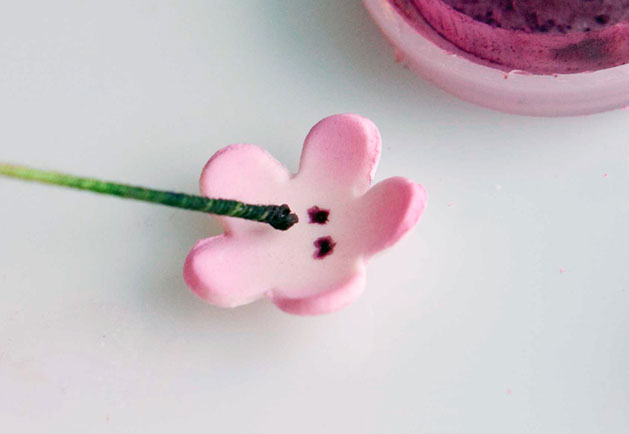
Mix a drop of water with dark petal dust and use a floral wire to apply it in dots to the center of each blossom in clusters of 3 or 4 dots. Let the petal dust dry, and then you're ready to start decorating your baked goodies!

About the Author:
Julie Sloane is a freelance writer in San Francisco.
No comments:
Post a Comment