
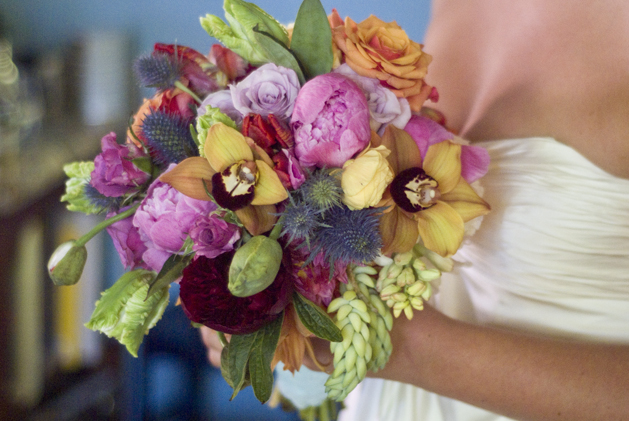
Tutorial - Here is a step-by-step tutorial for the most amazing, luscious bridal bouquet.
Making a bouquet for the bride to carry is a very rewarding task.
The hard part is not going overboard with things, and keeping the bouquet as tasteful as possible. The final piece was the perfect compliment to her beautiful, dreamy, colorful bridal style.
Materials
Flowers
Large clippers
Floral Scissors
28 gauge floral wire
Wire cutters
Floral tape
Rubber bands
3-4 yards of lace and ribbon
Decorative straight pins

Step 1: Prepare your flowers by removing all the leaves along the length of the stems. With the roses, I use the floral scissors to cut the leaves, but with the tulips, the leaves wrap all the way around the stem, so I gently pull the leaves downward with my fingers.

Step 2: Florists use thin floral wire to incorporate short stemmed flowers in with the longer stemmed flowers. For this bouquet, I cut the cymbidium orchids from their long stem, and then individually wired the blossoms to to the sturdy stem of a peony.
Cut 1' of floral wire, and then pierce the stem of the orchid, about 1/4" from the head of the flower. Carefully push the wire through the stem so that the blossom is centered on the wire. Now, twist the wire around the orchid stem to support it, and then twist the ends to the peony. The result is one long peony, with an orchid floating alongside. Don't worry that the wire looks ugly, it will be well concealed in the final bouquet. I wired two orchids to two peonies.

Step 3: Once all the flowers are prepped, they can be gathered into groups. I work the flowers in small bundles, then gather those together for the final piece. Just start by placing individual stems into your hand, and seeing how they look together. The trick here is to master your hands. I broke two roses because I was grasping the stems too tightly, so keep your fingers loose. Get as creative as you like, and mix and match the flowers until you find the right combination.
Once you have a bundle that you like, rubber band it together, and set it into water. Then create 2 more groupings that are similar, but not symmetrical.

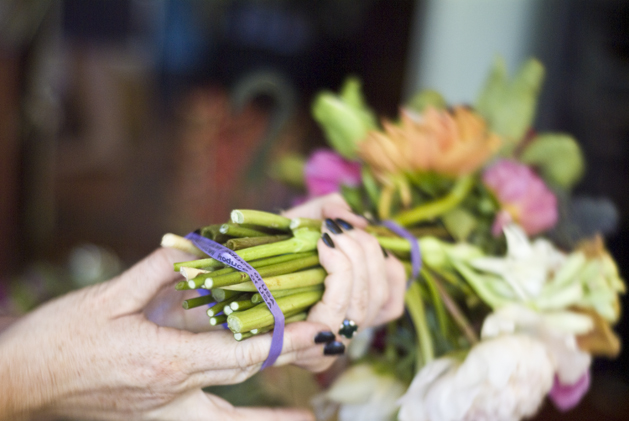
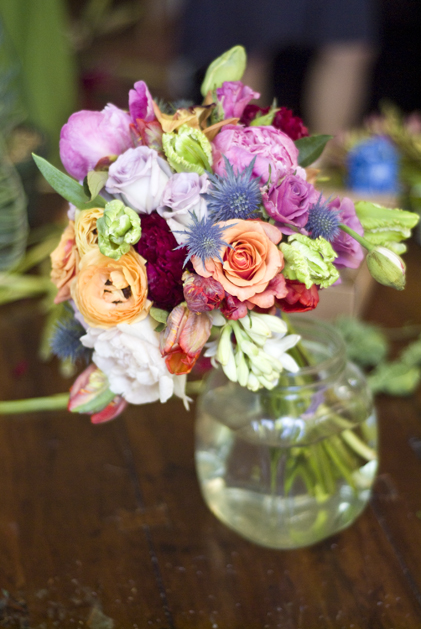
Step 4: When all 3 bundles are built, remove their rubber bands and combine them together. Trim all the stems to a length that compliments the height of your bride, and then secure the entire piece with one rubber band at the top, and one at the base.

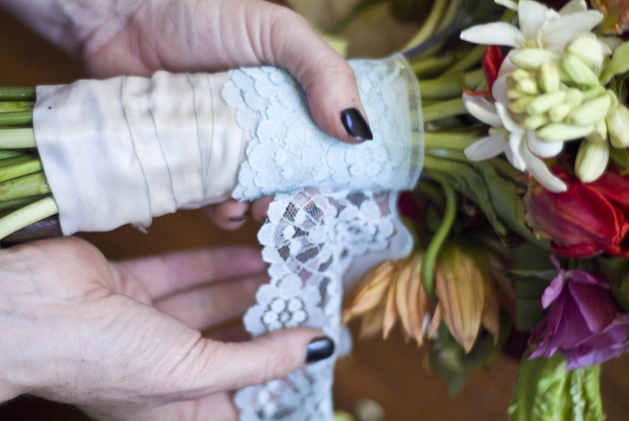
Step 5: My bride's handle is first wrapped with satin ribbon that has been in the bouquets of other brides in her family. It's a sweet tradition that they carry on- each new bride gets to use the same piece of ribbon. To create the handle, just wrap the stems. Start at the top, and push a straight pin through the ribbon and into the stems. Then work down the handle wrapping the stems tightly, but not too tightly! Secure the ribbon at the bottom of the bouquet with a second pin. After I wrapped with the ribbon, I went over the handle again with a wide piece of pale blue lace. I went over and over the handle and used almost 3 yards of lace.
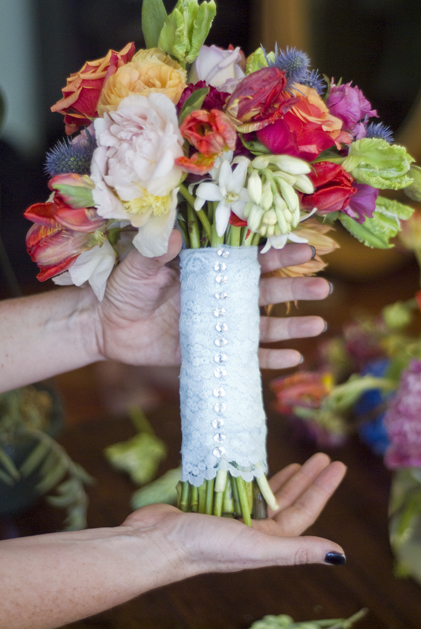
Step 6: Pin the lace to the stems using crystal pins. I worked in a line down the inside of the bouquet. Push them firmly into a strong stem, and as you get towards the bottom, angle the pins up as you place them so that they will not poke out the bottom. Mist the flowers with some fresh cool water, and then try not to swoon when you see the bride's face light up at the sight of her stunning flowers!
No comments:
Post a Comment